Practice cut tutorial of the various basic cuts.
Once you master these cuts you are on your way, as it is just art
after this of what you will create.
I want to
stress treating the practice plate like a piece of scrap paper. Feel free
to doodle on it just as you would a sheet of scratch paper, as if you were
learning how to use a pencil or paint brush. Later, when you feel
comfortable and more confident with the graver, you can make a more formal
plate for presentation.
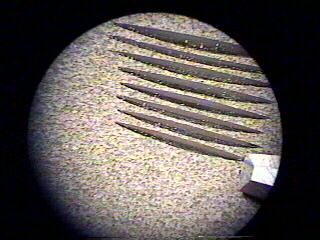
Start with
some straight line cuts that taper in and out evenly. This is going to
help you learn to coordinate the foot control with hand movement. Set the
AirGraver length of stroke so that half to 3/4 of the first exhaust hole
is showing, and set the drive regulator (the regulator on the right) to 25
to 30 psi.
Note: the metal used in these videos is from OnlineMetals.com. It
is 2"x 3"x 3/8" thick (1018 cold rolled steel). The plate is as received
from OnlineMetals, with no extra preparation of the finish. If you want a
better finish for a presentation plate, you can take the time to sand (by
hand or with a belt sander) through the sandpaper grits, but for scrap
practice plates this isn't necessary.
More info on practice plates
There is a video of
each type of practice cut.
Click the arrow in
a video photos to play a video
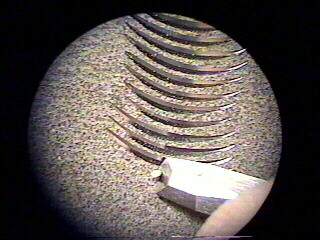
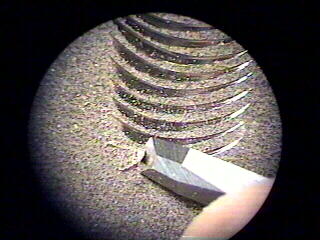
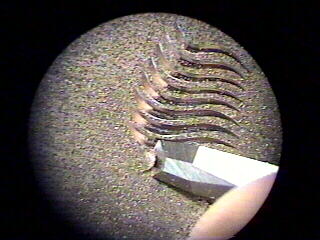
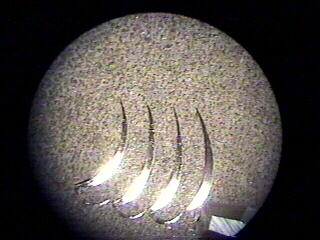
The angle of the graver to the metal is going to start high, scoop
in and then slowly out. Make the cuts approx 3/8" to 1/2" long.
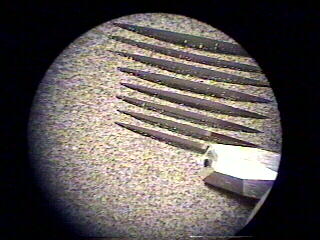
It
is similar to the action of scooping ice-cream out with a spoon, but
with less arching movement.
The scooping into the metal is the easy part, but now as you come up
out, you need to back off the throttle just as slowly as you
increased it.
You also need to be careful coming up out of the metal to decrease
how much pressure you are using to hold the graver in the cut, so
that when you get to the end you don't slip out across the plate.
VIDEO Click Arrow in the
below photo
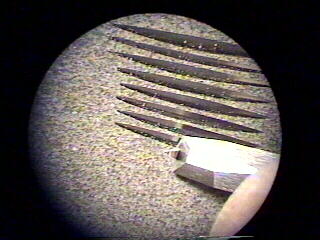
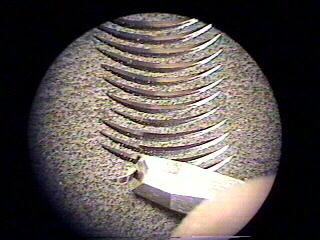
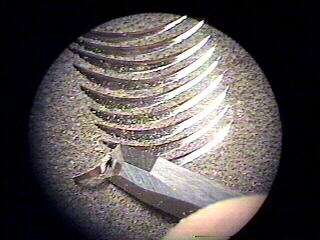
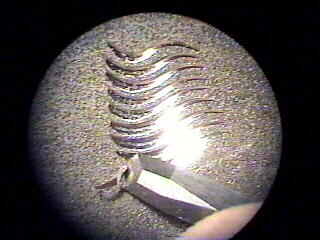
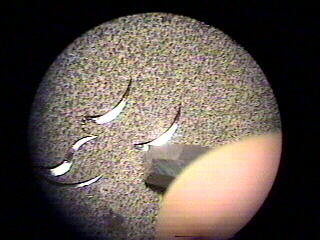
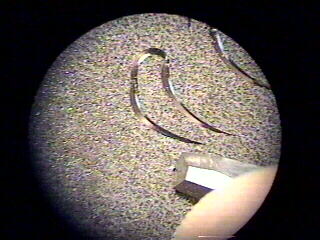
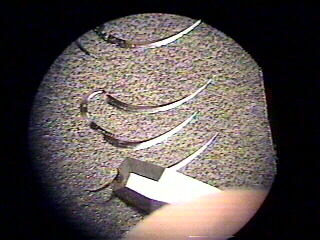
Arc Lines
After you begin to master the straight cut, try the same thing but rotate the vise to make some arc scoop
cuts. The cuts in the video are a little over 3/8" long. You might try
some longer and shorter.
VIDEO Click Arrow in the
below photo
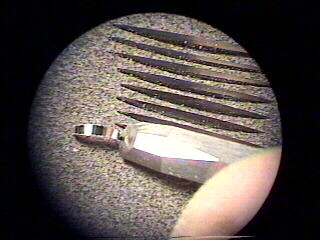
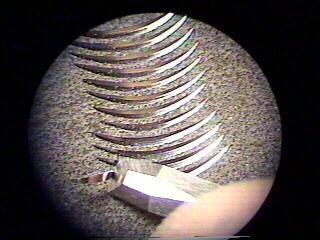
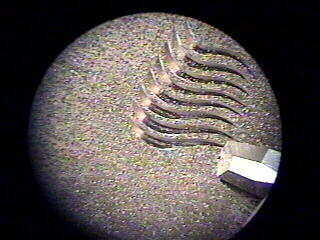
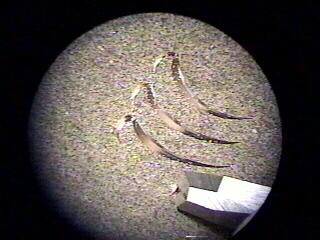
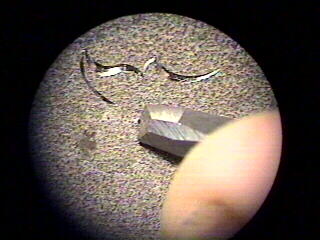
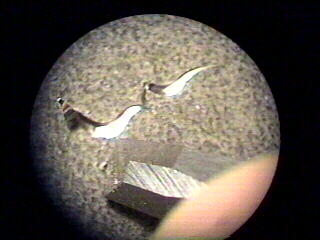
Flared arc cut. This is how to use the graver to make wide bright cuts, by just
leaning the graver over. Now try
flaring the cut by rolling the graver to the outside. Start the cut
upright, and slowly roll it to the outside of the cut.
VIDEO Click Arrow in the
below photo
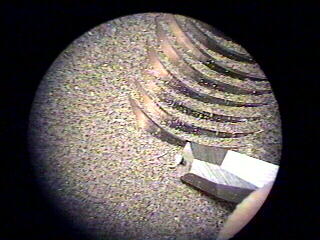
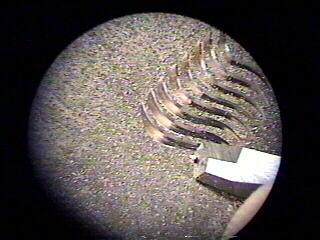
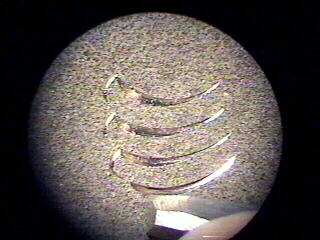
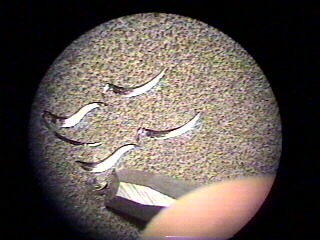
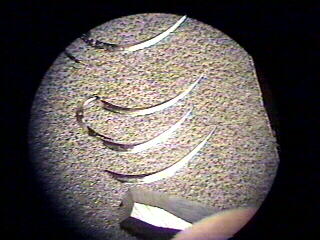
Gentle 'S' Arc
Same idea, but turn the vise first one way and then the other.
VIDEO Click Arrow in the
below photo
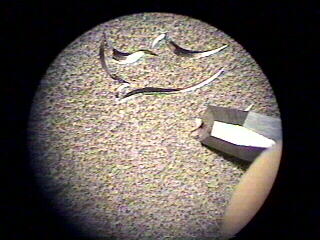
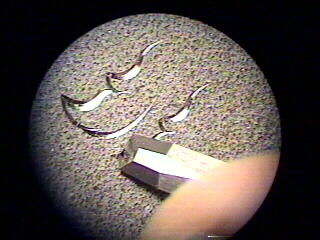
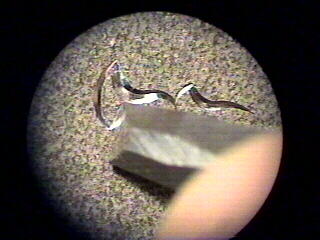
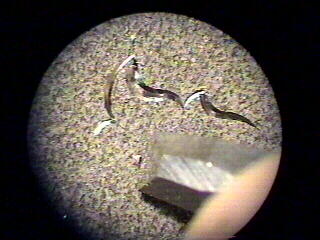
Motif A
Now we
start to put the cuts together to form some motifs. First do an arc cut
and flare it some if you like, and add a small radius arc top to it. The
small cut is the same arc cut we have been doing, but not as deep.
VIDEO Click Arrow in the
below photo
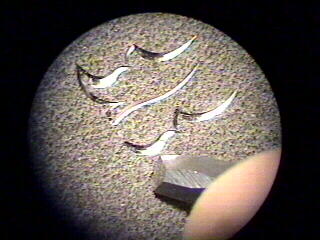
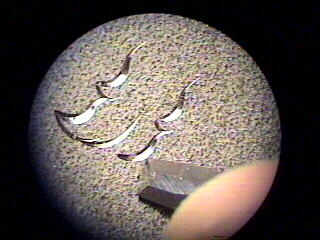
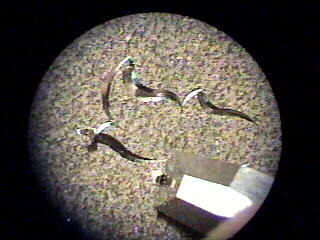
Motif B
The
first two cuts in this are the same as above but now add an additional
gentle flared 'S' and another arc to form a leaf.
VIDEO Click Arrow in the
below photo
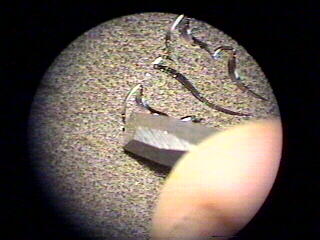
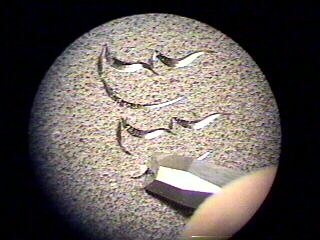
Motif C
Same
idea as above, but with the last two cuts different
VIDEO Click Arrow in the
below photo
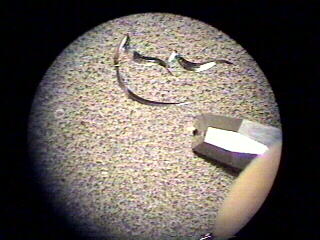
Motif D
Another variation
VIDEO Click Arrow in the
below photo
Motif E
Another
basic motif head
VIDEO Click Arrow in the
below photo
Motif F
Now try
going on your own, using this variety of cuts to create interesting leaves
and motifs.


.png)